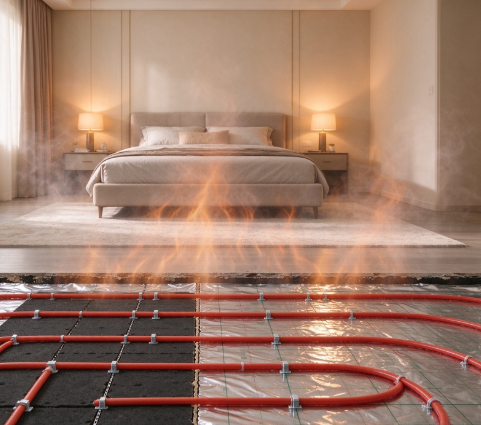
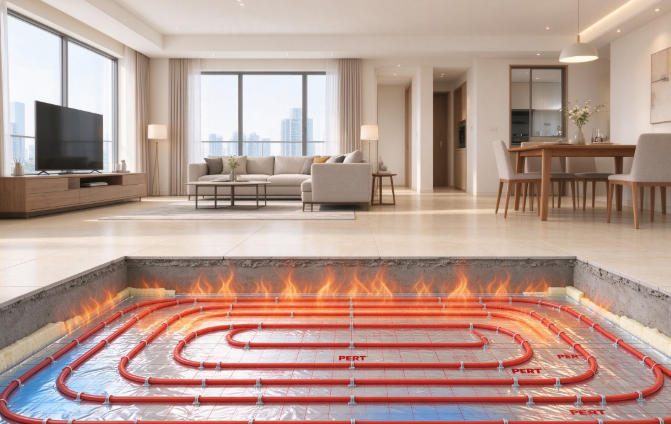
If you make even one mistake when backfilling an underfloor heating system, the entire house could end up with water leaks.
October 09, 2026
When retrofitting underfloor heating in a fully finished home, leaks aren’t caused by poor pipe quality—they’re “time bombs” 💣 buried during the backfilling stage. Focus solely on the construction phase, and pay close attention to the backfilling process.
1️⃣ Two Major Leak Risks During Backfilling
Curing water seeps into the floor below—the floor slabs in guest bedrooms and living rooms lack a waterproofing layer. Cast-in-place slabs have microscopic pores and gaps around conduit, while precast slab homes face even higher risks. Pebble concrete naturally contains a large amount of mixing water, and when combined with water used for curing, it seeps down through the joints of insulation boards and nail holes, causing moisture and water stains on the ceiling below.
Pipe damage and water migration during backfilling—incorrect materials or improper handling can puncture the underfloor heating pipes, allowing water to flow freely throughout the entire pebble backfill layer. This makes it difficult to pinpoint the leak and can even cause water to seep into adjacent rooms and walls.
2️⃣ 4 Prerequisites Before Backfilling
Seal cable conduit openings and floor slab cracks tightly with “Leak-Stop Master.”
Keep the underfloor heating pipes pressurized throughout the process; do not remove the pressure gauge. Backfilling may only proceed after confirming a pressure of 0.6 MPa; stop work immediately and investigate if pressure drops.
Joints are strictly prohibited in buried underfloor heating pipes; all joints must remain inside the manifold box.
Install perimeter insulation strips along the walls; leave expansion joints in large rooms.
3️⃣ Two Prohibitions for Backfill Materials
✅ C15 pea gravel concrete: use 5–12 mm rounded pea gravel with a mix ratio of 1:2:3
❌ Do not use crushed stone with sharp edges, as they can puncture the underfloor heating pipes
❌ Do not mix the concrete too thin; excessive free water is the primary cause of leaks into the unit below
Protective layer above pipes ≥30mm; lay silica mesh over pipes to prevent cracking
4️⃣ Curing is where shortcuts are most commonly taken
✅ Prioritize covering with plastic sheeting to retain moisture
❌ Do not flood the area with water; standing water on the floor is prohibited
Cover with plastic sheeting for 7 days after initial setting; tile installation should wait until 14 days later; for hardwood floors, 21–28 days is recommended
5️⃣ Two layers of waterproofing in the bathroom
Base-layer waterproofing + water-tightness test → Pipe installation and backfilling → Apply another layer of flexible waterproofing on top of the backfill layer + secondary water-tightness test; shower walls ≥1.8m; install a waterproof curb at the doorway
6️⃣ Two Pitfalls to Avoid
❌ Do not apply full-house waterproofing on top of the floor slab in guest bedrooms or living rooms; if underfloor heating pipes leak, the water will be trapped in the cavity, seep through the walls, cause mold, and make it impossible to locate the leak
❌ Construction without pressure testing and excessive water use during curing are the two most common pitfalls in backfilling.
Troubleshooting: Immediately stop pouring and investigate if backfill pressure drops; stop watering and increase ventilation if water stains appear on the floor below; the work is only considered合格 once pressure is restored and stabilized after completion.
For critical stages of concealed work, you must be present for inspection!
NEXT: Basic Facts About Heating
PREV: End